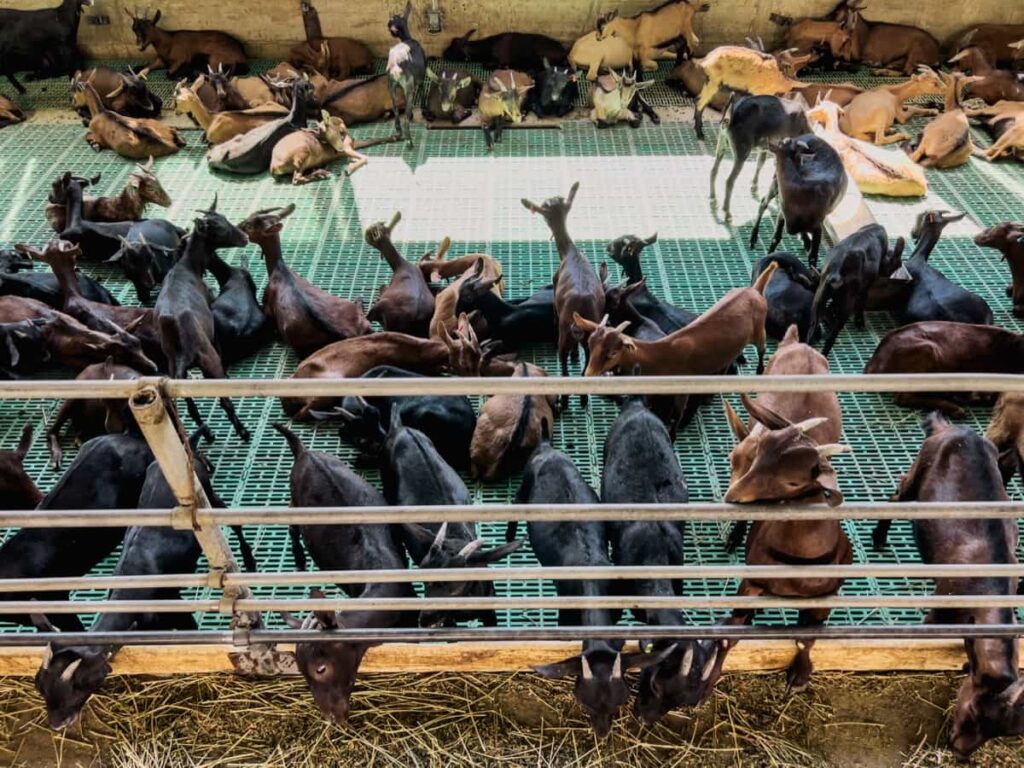
Goat farming is an ancient practice that involves raising goats for various purposes, one of which is milk production. In goat farming, farmers rear goats in different settings, such as small family farms or larger commercial operations.

Essentials of Goat Milking Hygiene
Maintaining proper hygiene during goat milking is essential for the health of both the goats and the consumers of their milk. Start by ensuring that your milking area is clean and free from any contaminants. This includes regularly cleaning surfaces, equipment, and utensils used in the milking process. Before milking, wash your hands with soap and water to prevent bacteria from transferring onto the goats or into the milk. You can also keep your goats clean by regularly grooming them to reduce dirt and debris that could contaminate the milk during milking.
Choosing the Right Milking Equipment
The first step is to assess your herd size and milking frequency to determine the type of equipment needed. Consider factors such as manual vs. automatic systems, as well as portable options for smaller operations. Next, think about the comfort of both you and your goats during the milking process. Look for equipment with adjustable features to accommodate different sizes and breeds.
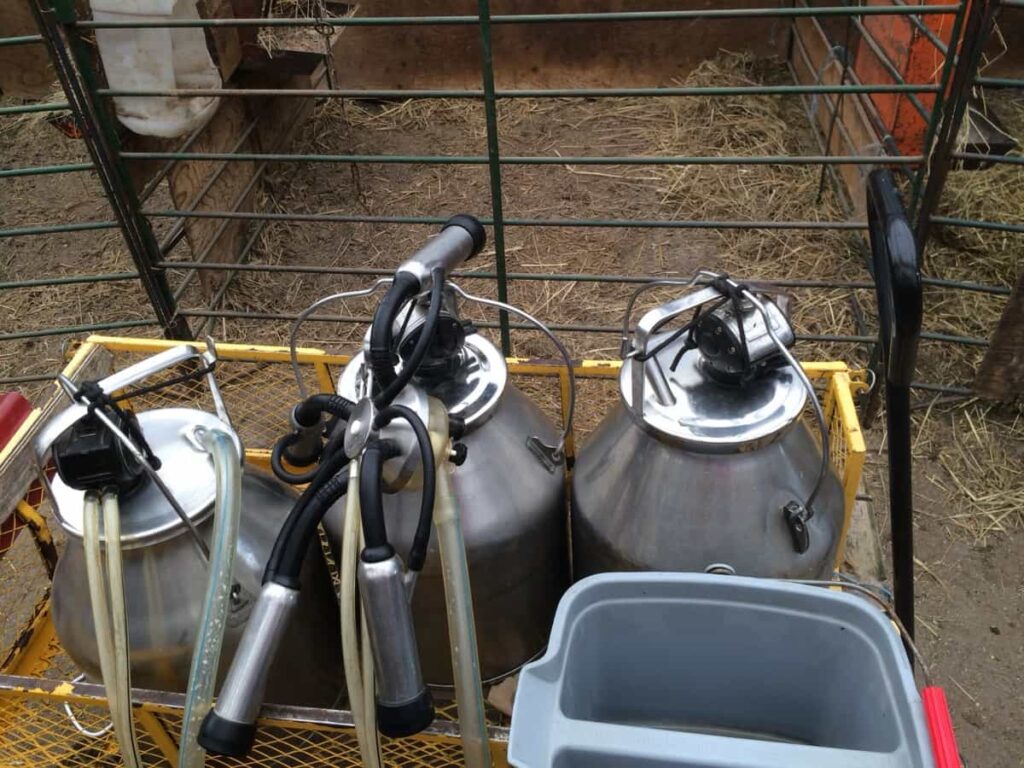
Quality materials that are easy to sanitize are also essential for maintaining hygiene standards. Investing in proper milking equipment not only ensures a smooth operation but also contributes to the overall health of your goats. The best milking equipment is are milking machine, milk strainer, dairy thermometer, etc.
Hand Milking Techniques
Start by washing your hands thoroughly before beginning the milking process. Sit comfortably beside your goat, ensuring they are calm and relaxed. Gently massage their udder to stimulate milk flow. Position your fingers around each teat in a circular motion, applying steady pressure from top to bottom.
Be mindful not to tug or pull forcefully, as this can cause discomfort for the goat. Continue milking each teat until no more milk is flowing out. Take breaks if needed to give your goat time to rest during the process. Hand milking allows you to connect with your goats on a personal level while providing them with the proper care and attention they deserve.
Setting Up a Milking Parlor
Setting up a milking parlor is essential for efficient goat milking practices. The first step is to choose a clean and well-ventilated area, preferably with non-slip flooring. Install proper lighting to ensure visibility during the milking process. Next, organize the space by setting up individual stations for each goat, equipped with secure headlocks or stanchions to keep them in place.
In case you missed it: Milking Procedures and Dairy Product Processing in Goat Farming

A comfortable seating arrangement for the person doing the milking is essential. Invest in stainless steel milk pails or buckets, fresh udder wipes, and sanitizing solutions. Keep all equipment within easy reach for convenience and efficiency. A well-designed setup can streamline the milking process and promote overall herd health.
Using Milking Machines: A Step-by-Step Guide
- Firstly, properly clean and sanitize the milking machine before each use. This ensures the milk remains safe for consumption.
- Next, position the goat securely in the milking parlor or stanchion. Make sure the goat is calm and comfortable to avoid any stress during the process.
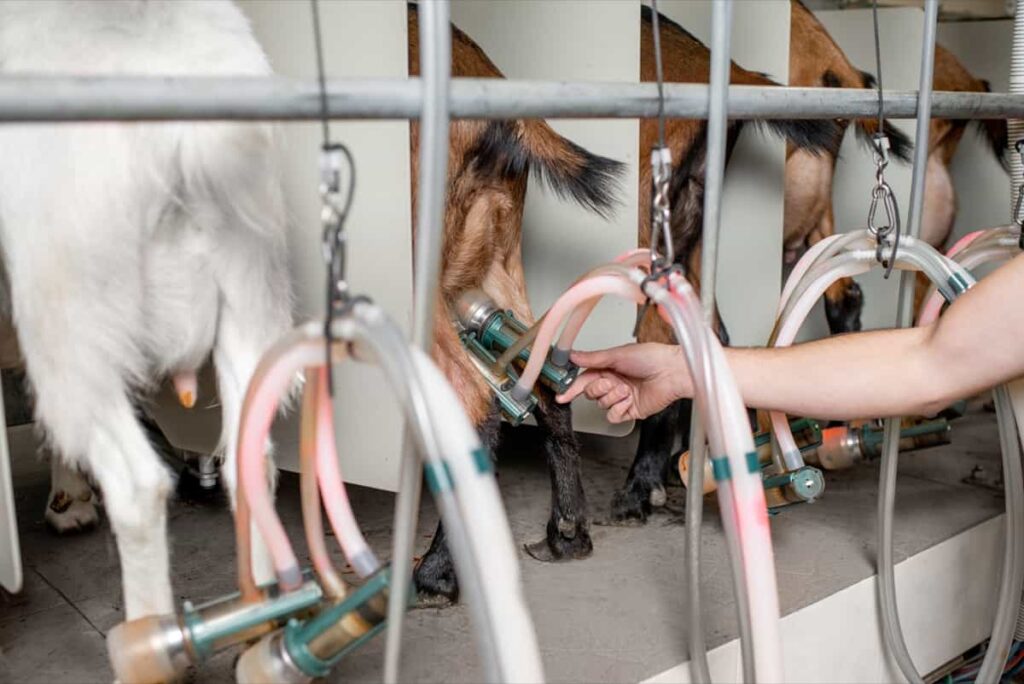
- Attach the teat cups to each teat carefully, ensuring a proper seal to prevent air from entering during milking.
- Start the machine slowly to allow the goat to adjust to the sensation. Monitor closely for any discomfort or issues.
- Once milking is complete, remove the teat cups gently and release your goat from her position with care.
- Remember to clean and sanitize all parts of the machine thoroughly after each use to maintain hygiene standards.
Cleaning and Sanitizing Milking Equipment
Ensuring your milking equipment is properly cleaned and sanitized plays a crucial role in producing high-quality milk. After each milking session, it’s important to disassemble all equipment and wash them thoroughly with hot water and a mild detergent. This helps remove any milk residue or bacteria that may be present.
Once cleaned, sanitize the equipment using a food-grade sanitizer to eliminate any remaining bacteria or pathogens. Pay special attention to areas that come into direct contact with the milk. Allow the equipment to air dry before storing it in a clean and dry area. Inspect your equipment for signs of damage that could compromise its effectiveness.
Routine Maintenance of Milking Machines
Regular inspection and cleaning of all components help prevent breakdowns and maintain milk quality. Check for wear on parts such as rubber seals, hoses, and connectors. Replace any damaged items promptly to avoid leaks or contamination. Lubricate moving parts as suggested by the manufacturer to prevent friction and extend the life of the machine.
In case you missed it: From Milking to Marketing: Goat Farming Profit Tips

Cleaning filters regularly helps maintain proper milk flow during milking sessions. Check gauges regularly to ensure consistent vacuum levels. Any fluctuations could indicate a problem with the machine that needs attention. Proper storage of milking equipment when not in use can prevent damage from dust or pests. Keep everything organized in a clean, dry area to prolong its lifespan.
Training Goats for Machine Milking
Training goats for machine milking is a crucial aspect of successful dairy goat farming. It requires patience, consistency, and gentle handling to ensure the goats feel comfortable with the process. Start by introducing your goats to the sound and sight of the milking machine before actually using it on them.
This will help them become familiar with the equipment and reduce their anxiety during milking sessions. Gradually acclimate your goats to being touched and manipulated around their udders. Use positive reinforcement to reward behavior during training. Establish a routine schedule for training sessions to help your goats become more comfortable with the process over time.
Managing Milking Schedules
Managing milking schedules is key to maintaining a steady supply of fresh milk. Consistency is crucial for the health and productivity of your goats. Establishing a structured routine helps reduce stress on the animals and ensures efficient milk production. When setting up your milking schedule, consider factors such as the number of goats in your herd, their lactation cycle, and any specific dietary needs. Plan and create a timetable that aligns with both your goats’ natural rhythms and your daily schedule. Consistency in milking times helps regulate milk production and promotes overall udder health.
Troubleshooting Common Milking Issues
One common problem is a goat that kicks during milking. This could be due to discomfort or unfamiliarity with the process. To address this, make sure your goat is comfortable and secure in the milking area before starting. Another issue you may encounter is low milk production. This could be caused by stress, inadequate nutrition, or health problems. Ensure your goats are well-fed, healthy, and relaxed during milking sessions.
In case you missed it: Goat Farming for Fiber: Producing Mohair and Cashmere

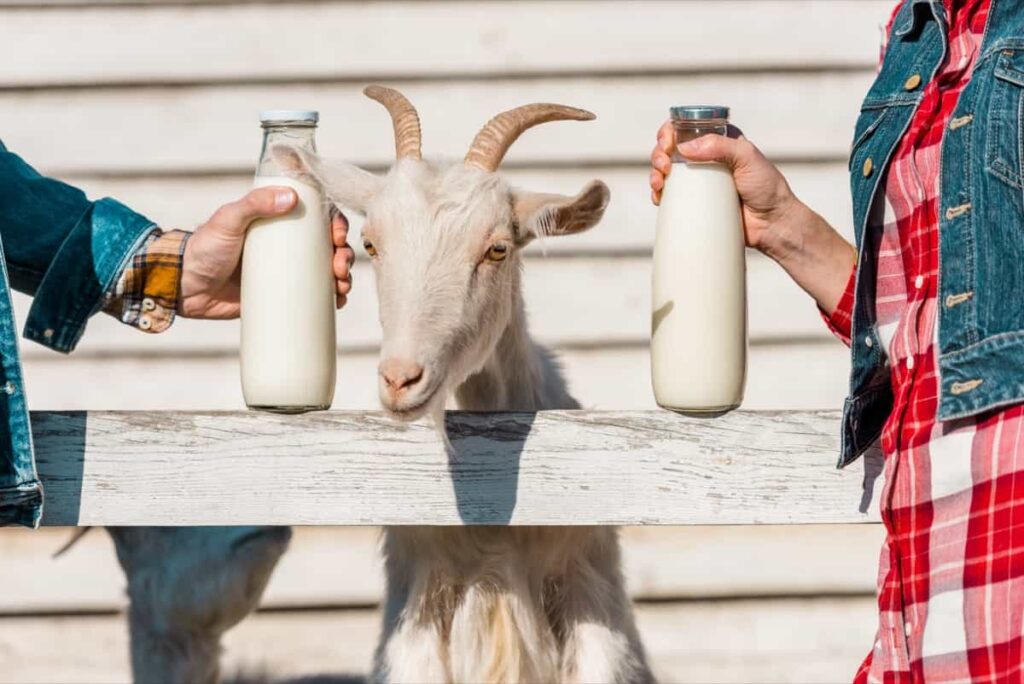
If you notice clumpy or discolored milk, it might indicate an infection. In this case, consult a veterinarian for proper diagnosis and treatment options. Goat milking is an essential and highly valued aspect of goat farming. Regular cleaning and sanitization of milking equipment are essential for preventing contamination and ensuring high-quality milk output.
- Types of Grass Growing for Goat Farm
- How to Train Goats for Milking: A Beginners Guide
- Goat Milking Practices and Equipment: A Beginner’s Guide
- Goat Farming for Fiber: Producing Mohair and Cashmere
- Maximizing Goat Milk Production: Tips for Dairy Goat Farmers
- Goat Farming as a Family Business: Strategies for Success
- Profitable Kenya Goat Breeds for Commercial Dairy and Meat Business
- Unlock the Secrets of Oberhasli Goat: Discover Raising and Management Practices
- Ultimate Guide to Myotonic Goats: Explore Profile to Raising